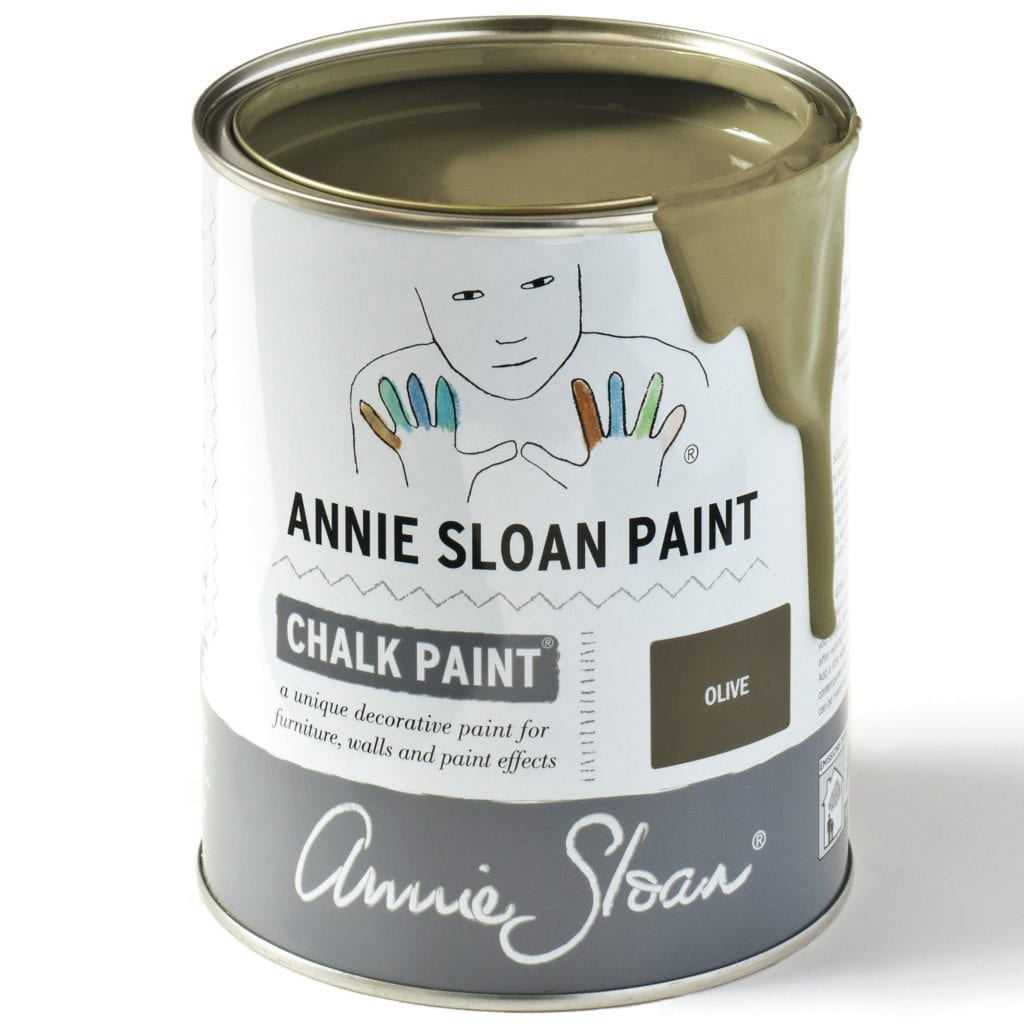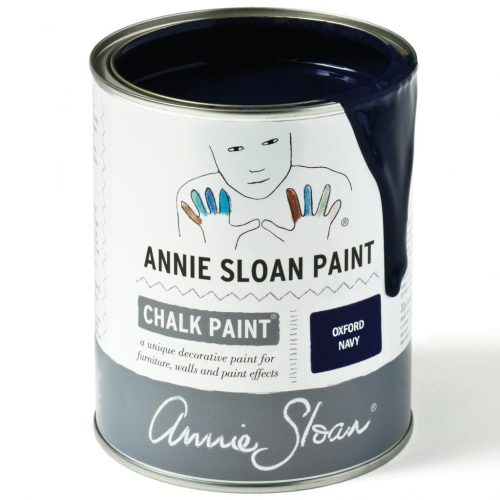
Annie Sloan Chalk Paint is a popular choice for kitchen makeovers because it’s easy to use and adheres well to various surfaces without extensive prep work. Here’s a detailed guide to help you achieve great results:
Materials Needed:
- Annie Sloan Chalk Paint
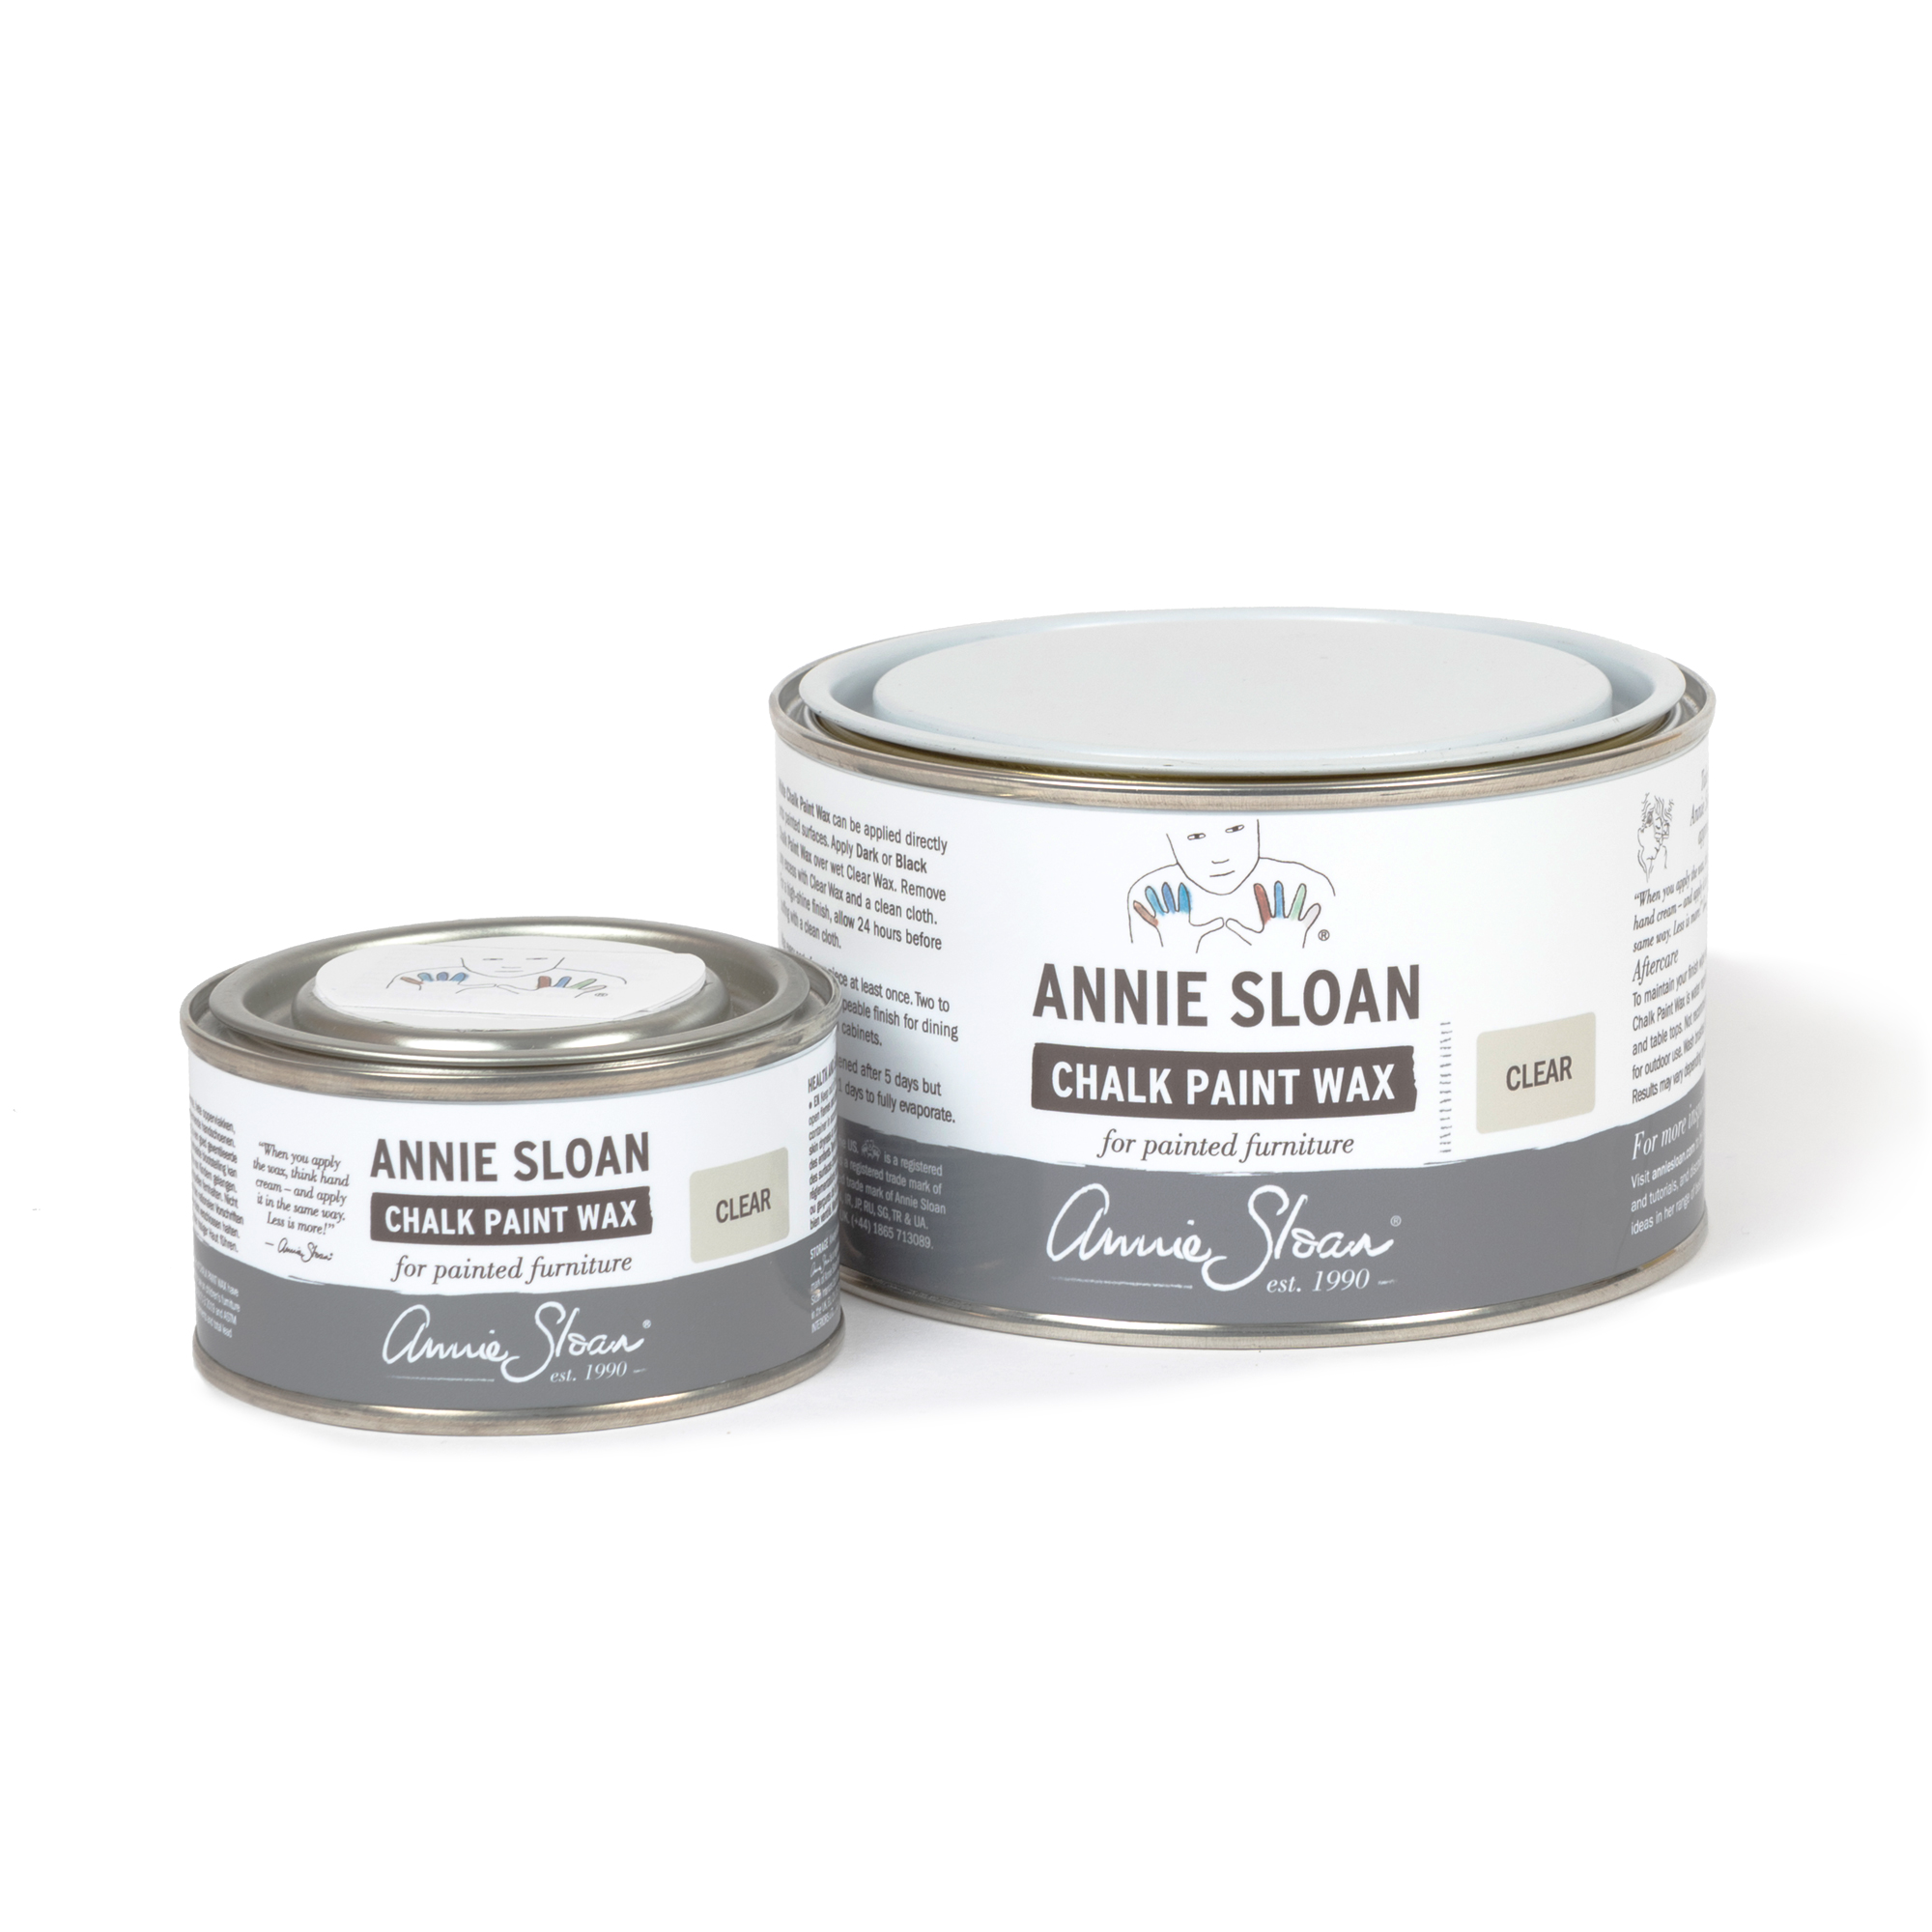
- Annie Sloan Clear Wax or Lacquer
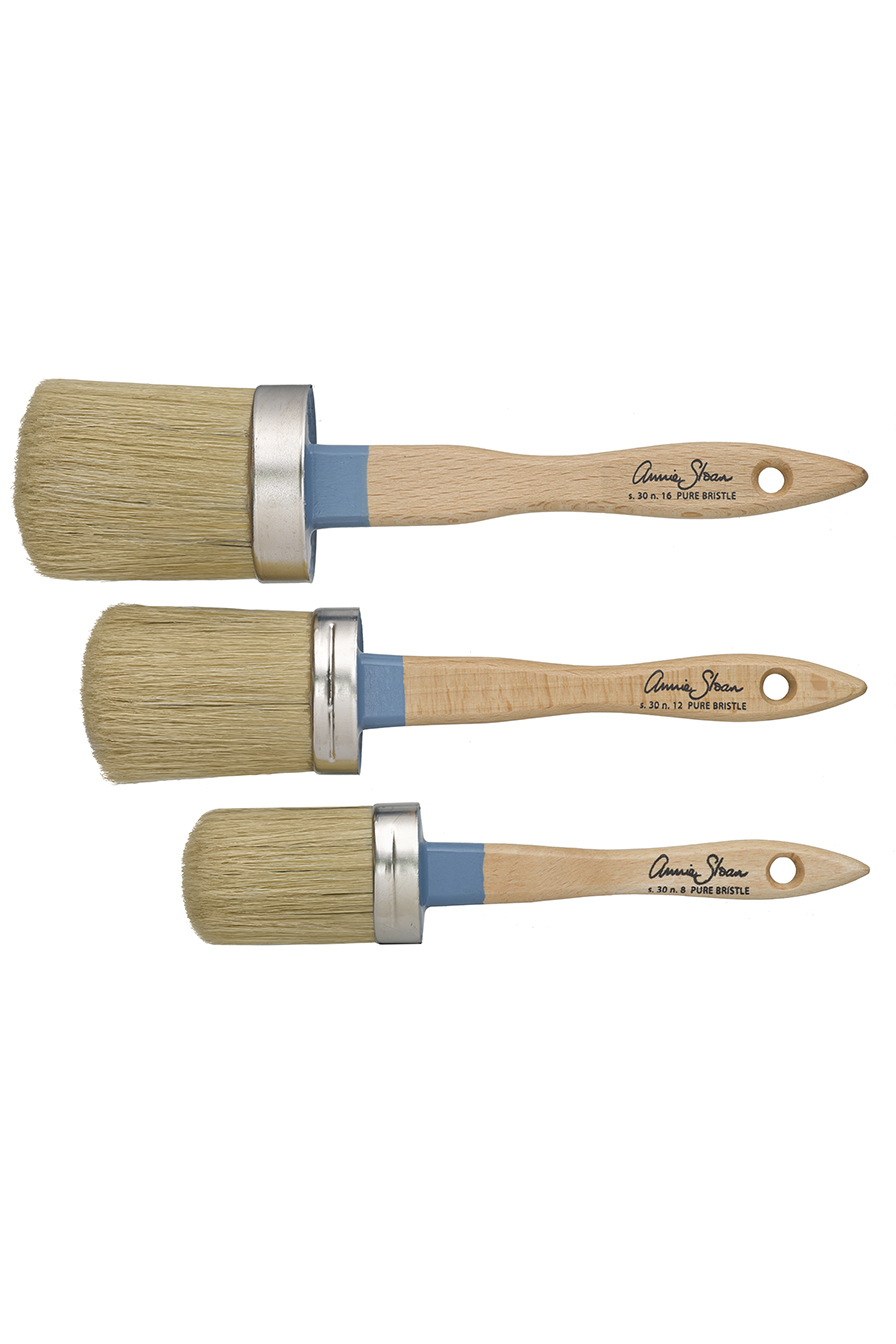
- Brushes (preferably natural bristle brushes)
- Sandpaper (optional, for distressing)
- Soft cloth or lint-free rag
- Degreaser or mild detergent
- Drop cloth or newspaper
- Stirring stick
- Painter’s tape (optional)
Preparation:
- Remove Cupboard Doors and Hardware: Take off all the cupboard doors and remove any handles, knobs, or hinges. This will make painting easier and ensure a smooth finish.
- Clean the Surfaces: Thoroughly clean all surfaces with a degreaser or mild detergent to remove any grease, grime, or food residue. Rinse with water and let dry completely.
- Protect Your Work Area: Lay down a drop cloth or newspaper to catch any drips or spills. Use painter’s tape to protect any areas you don’t want to paint.
Painting:
- Stir the Paint: Mix the paint thoroughly with a stirring stick to ensure an even consistency.
- First Coat: Use a brush to apply a thin, even coat of Chalk Paint to the cupboard doors and frames. Chalk Paint dries quickly, so work in manageable sections.
- Dry Time: Allow the first coat to dry completely, which typically takes about 1-2 hours.
- Second Coat: Apply a second coat for full coverage. Let it dry completely.
Finishing:
- Distressing (Optional): If you prefer a distressed look, use sandpaper to gently rub away paint in areas that would naturally wear over time, such as edges and corners.
- Waxing:
- Applying Clear Wax: Use a brush or a lint-free cloth to apply a thin layer of Annie Sloan Clear Wax. Work in small sections, rubbing the wax into the paint.
- Buffing: Once the wax is applied, use a clean cloth to buff the surface, creating a slight sheen. Allow the wax to cure for at least 24 hours.
- Additional Coats: For added durability, apply a second coat of wax after the first one has cured.
- Lacquering (Optional): For kitchen cupboards, which are prone to more wear and tear, consider using Annie Sloan Lacquer instead of wax for extra protection. Apply it with a brush or roller following the manufacturer’s instructions.
Reassembly:
- Reattach Hardware: Once the paint and finish are completely dry and cured, reattach the hardware to the cupboard doors.
- Reinstall Cupboard Doors: Put the cupboard doors back in place.
Clean-Up:
- Brushes: Clean your brushes with warm, soapy water.
- Storage: Tightly seal the paint can and store it in a cool, dry place.
Tips:
- Ventilation: Ensure good ventilation while painting and waxing to avoid inhaling fumes.
- Test Area: Consider testing the paint on a small, inconspicuous area first to see how it adheres and dries.
- Multiple Thin Coats: It’s better to apply multiple thin coats of paint rather than one thick coat to avoid drips and achieve a smoother finish.
- Patience: Allow each layer of paint and wax to dry and cure properly to ensure the best finish and durability.
By following these steps, you can transform your kitchen cupboards with Annie Sloan Chalk Paint, giving them a fresh and stylish new look.